Geo Sleuth: the AI agent skill that finds where a photo was taken
By Pull This RepoPosted 5 min read
Short answer
Geo Sleuth is a free, MIT-licensed agent skill that works out where a photo was taken without GPS data. Your AI agent traces the skyline, measures structures and checks map, elevation and street view data. Its published cases landed within 2 m and 3 m of the real camera spot, but each run took 32 to 72 minutes.
Geo Sleuth turns an AI coding agent into a photo geolocator. You give the agent one photo and one sentence, find where this photo was taken, and it comes back with a camera position, an error radius, the direction the camera faced and a satellite evidence image. It does this without GPS data, street signs or famous landmarks, which is exactly why it is worth understanding even if you never run it.
What is Geo Sleuth?
Geo Sleuth is an agent skill: a standard folder with a SKILL.md file, about twenty single-purpose Python scripts, reference notes and lookup tables. An agent such as Claude Code reads the skill, runs the scripts, and reports back. The project was created on 18 September 2026 and had 7,240 stars on GitHub when we checked on 18 November 2026.
The README's design rule is "scripts rank, the model judges". The scripts search, score and sort candidate locations. The model only picks among the top few, and every conclusion has to name the command that ran and the file it produced.
What you get back from a run:
- coordinates with an error radius, such as "within 2 m"
- the heading the camera was facing
- an evidence image: a satellite tile with the camera's field of view drawn on it
- a graded confidence
How do you install Geo Sleuth?
You need Python 3.10 or newer, uv, curl, Google Chrome or Playwright Chromium (for reverse image search), and an agent that can run shell commands. The one-line install uses the skills CLI and asks which agents to add it to:
npx skills add Oldcircle/geo-sleuthTo install it for all six supported agents at once, user-wide, with no prompts:
npx skills add Oldcircle/geo-sleuth -g -a claude-code -a codex -a cursor -a gemini-cli -a opencode -a github-copilot -yOr copy it by hand. Claude Code reads ~/.claude/skills/, and Codex, Cursor, Gemini CLI, OpenCode and Copilot can all read one shared copy in ~/.agents/skills/:
git clone https://github.com/Oldcircle/geo-sleuth
mkdir -p ~/.agents/skills ~/.claude/skills
cp -r geo-sleuth/skills/geo-sleuth ~/.agents/skills/
ln -s ~/.agents/skills/geo-sleuth ~/.claude/skills/geo-sleuth
Before the first real run, the README says to run the health check from the skill's scripts/ folder (from a clone, these are the paths):
uv run skills/geo-sleuth/scripts/doctor.py
uv run skills/geo-sleuth/scripts/doctor.py --network
If the browser launch fails, uvx playwright install chromium fixes it. Leave disk space: the README says the GPU build of PyTorch for the image models on Windows is about a 2.4 GB first download.
How does it find where a photo was taken?
It measures things instead of reading them. The README lists four kinds of evidence:
- Skylines. It traces the ridge line in your photo, then renders the ridge line that elevation data predicts from thousands of possible camera positions and scores the fit.
- Structures as rulers. Evenly spaced objects, such as bridge piers, become distance markers. Their bearings from the camera pin down where it stood.
- Shadows. Shadow direction gives the sun's bearing, which gives a heading and a time band.
- Open data. OpenStreetMap railways and power lines, a city's street-tree records, satellite tiles and street view captures narrow the search.
In the first published case, the photo showed an oven at the edge of a rice paddy, a viaduct and a mountain. The skill pulled 27,335 railway-bridge segments from OpenStreetMap, kept 171 sites with the right horizon, tested 14,372 camera positions against the skyline, then used 17 bridge piers as a ruler to reach a single spot.
How accurate is Geo Sleuth?
The README publishes three cases. None of the photos had GPS data.
| Case | Main evidence | Result | Run |
|---|---|---|---|
| Rice paddy and viaduct (Qingyuan, Guangdong) | railway bridges, skyline, 17 piers | within 2 m | first solve, about 72 minutes |
| Desert skyline (Da Qaidam, Qinghai) | power lines, skyline, a 1 degree phone tilt solved | 87 m | blind re-run with the hint "it is in China", 32 minutes |
| Cherry tree street (Vancouver) | 184,517 city street trees, shadows, slope, street view | 3 m | blind run with no hint, 53 minutes, 154 tool calls |
Read those numbers carefully. The authors say each case is one run by one model, and a different model may not reach the same answer. The two blind runs used photos the skill had already been tuned on, so the README calls them "regression checks, not accuracy on unseen photos". A public blind test set of unseen photos is still on the roadmap.
What is the catch?
- It needs something to measure. A skyline, a structure with regular spacing, a street with mapped trees, readable shadows. A close-up of a wall gives it little to work with.
- It is slow. The published runs took 32 to 72 minutes, with many tool calls each.
- Results depend on the model and the run, as the authors state for every case.
- Coverage varies. It leans on OpenStreetMap, elevation tiles, satellite imagery and street view, so areas with sparse data get weaker answers.
- The full intake uploads your photo to Baidu and Yandex for reverse image search. Use
--no-revto skip that.
Who is Geo Sleuth for?
It suits people who already run an AI coding agent and want to see how far geometry and open data can go: OSINT hobbyists, people who enjoy geolocation puzzles, and developers curious how a well-built skill splits work between scripts and a model. It is not a quick guess tool, and it is not for tracking people. The README's own rule: run it on your own photos or ones you have permission to analyze, never to find people who have not agreed to be found.
The more useful lesson for everyone else is what a plain photo gives away. Before posting a photo taken near home, think about the skyline, rows of poles or trees, shadows and walls that could be matched against street view, not only the GPS tag. The skill's local check shows you what a tool can pull from a picture before anything goes online:
uv run skills/geo-sleuth/scripts/intake.py photo.jpg --out-dir intake --no-revFor a related check on what websites learn about your browser, see Who Are You.
How does Geo Sleuth compare with other geolocation tools?
| Tool | What it is | Good for |
|---|---|---|
| Geo Sleuth | agent skill that measures skylines, structures and map data | a careful answer with an error radius and evidence image |
| GeoIntel | Python tool and web UI that asks Google's Gemini where a photo was taken | a fast guess with an explanation; needs a Gemini API key |
| PIGEON | research model trained to predict where street-level images were taken | studying the research side; code and paper, not a one-click app |
| ExifTool | reads and removes photo metadata | the defence side: exiftool -all= photo.jpg wipes metadata before you post |
What did we run for the video?
We did not install or run Geo Sleuth for our video. Everything shown came from the repo's own published case images and the GitHub page, so the numbers above are the authors' results, not ours. If you want to see other skills that give an agent a new job, look at Teardown, which builds machine simulations you can take apart, and REA Video, which breaks a video down shot by shot.
Pull it. Stash it.
Questions people ask
Can Geo Sleuth find where a photo was taken without GPS?
Yes, that is what it is built for. None of the photos in its published cases had GPS data. It works from what is in the frame: the skyline, the spacing of structures such as bridge piers, shadows, and open data such as OpenStreetMap, elevation tiles, satellite images and street view.
Which AI agents does Geo Sleuth work with?
The README lists Claude Code, Codex, Cursor, Gemini CLI, OpenCode and GitHub Copilot, plus any other agent that reads a SKILL.md file and can run shell commands. Claude Code reads it from ~/.claude/skills/, and the others can share one copy in ~/.agents/skills/.
How long does a Geo Sleuth run take?
The published runs took 32, 53 and about 72 minutes. The 53 minute blind run used 154 tool calls, so expect real usage on your agent plan.
Does Geo Sleuth upload my photo anywhere?
The full intake runs a reverse image search on Baidu and Yandex, which sends the photo to those services. Adding --no-rev to intake.py skips that step and keeps the metadata, crop and OCR checks on your machine.
Is it legal to use Geo Sleuth on other people's photos?
We cannot give legal advice. The project's own rule is to run it only on your own photos or ones you have permission to analyze, and never to find people who have not agreed to be found.
Sources
More repos like this
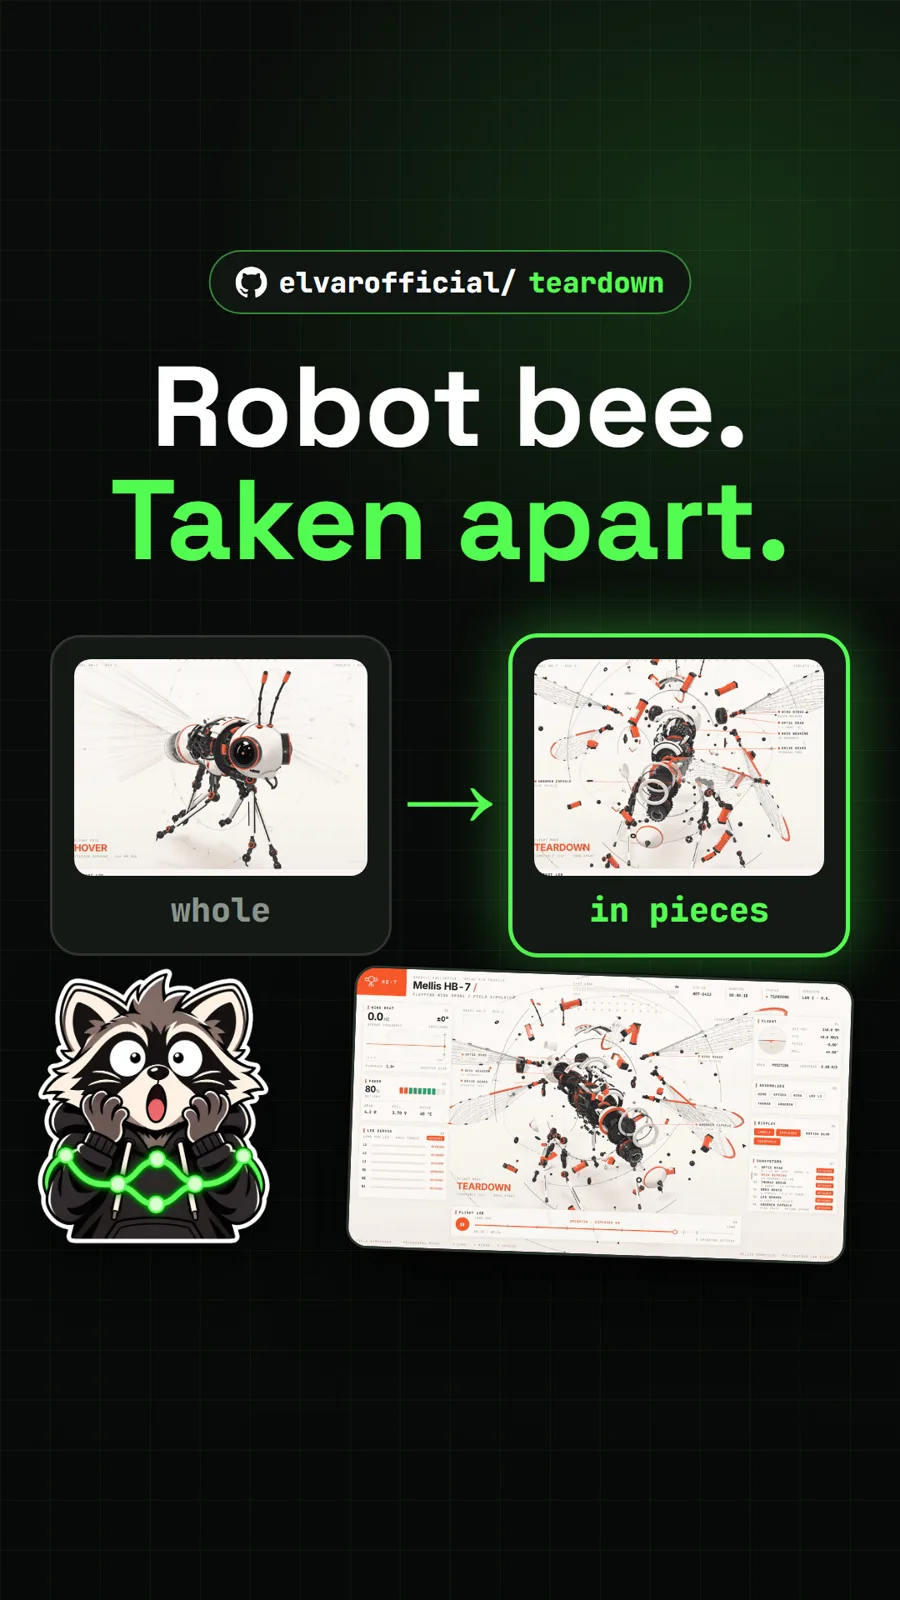
elvarofficial/teardown
Teardown: an AI skill that builds machine simulations you can take apart
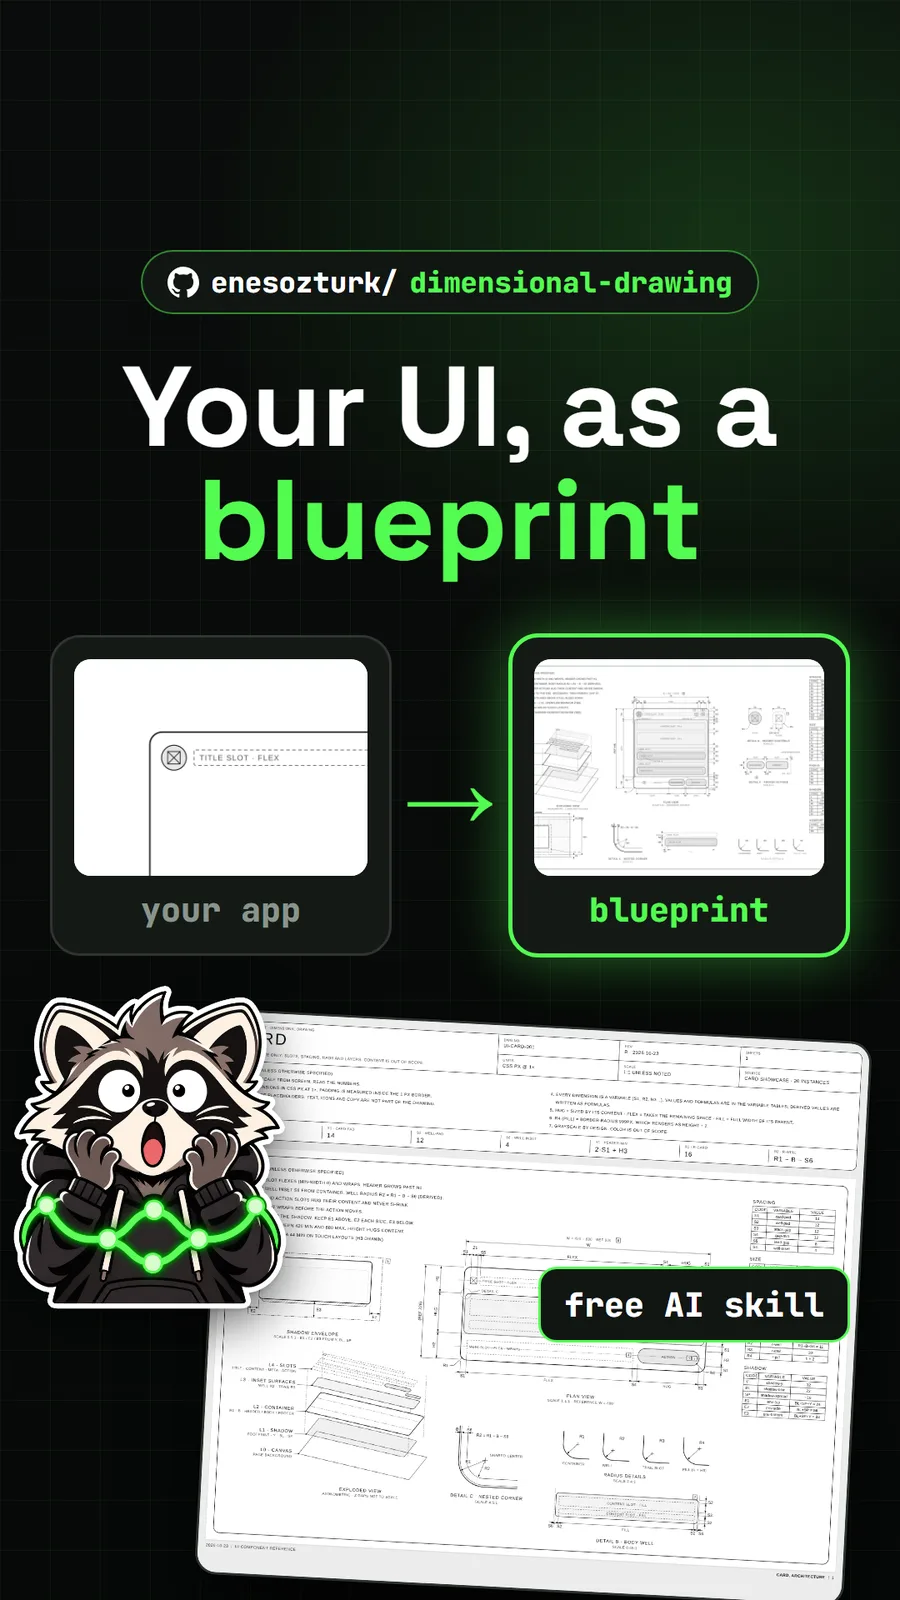
enesozturk/dimensional-drawing
Dimensional Drawing: an AI skill that turns your UI into Apple-style blueprints
Get tomorrow's repo in your feed
One free, open source repo a day as a short video, shown working, with the catch named. Pull it. Stash it.